Table of Contents 1. Overview, Prerequisites and Configuration Flow 2. Deployment Settings 3. User and Group Management (Local Users) 4. Resource Definition and Role Assignment 5. Login Options, Virtual IP Pool and Authentication 6. Portal Customization and Certificate Management 7. NAT, Client Connection and User Monitoring 8. Best Practices and Troubleshooting
1. Overview, Prerequisites and Configuration Flow
SSL VPN enables remote users to securely access the corporate network over SSL/TLS encryption. Before configuring SSL VPN on Sangfor NGAF, familiarize yourself with the following key concepts:
Concept
Description
SSL VPN
VPN tunnel operating over SSL/TLS protocol
EasyConnect
Sangfor SSL VPN client software
L3VPN App
Full network tunnel — all protocols and ports
TCP App
Proxies specific TCP connections
Web App
Browser-based access through the portal
Resource Group
Logical unit for grouping resources
Role
Mapping between user group and resource group
Virtual IP Pool
IP address pool assigned to VPN clients
Gateway Mode
SSL VPN deployment mode (Gateway or Single-Arm)
Figure 1 — SSL VPN architecture overview
Prerequisites
Before starting SSL VPN configuration, ensure the following requirements are met:
A valid SSL VPN license
NGAF device is active and accessible
A valid public IP address on the WAN interface
Port 4430 and/or 443 open to external access
Sufficient user quota
No IP conflict between VPN IP pool and existing network ranges
SSL VPN Configuration Flow
A complete SSL VPN configuration consists of 8 key steps:
Deployment — Gateway/Single-Arm mode and interface selection
Login Options — Portal port and TLS settings
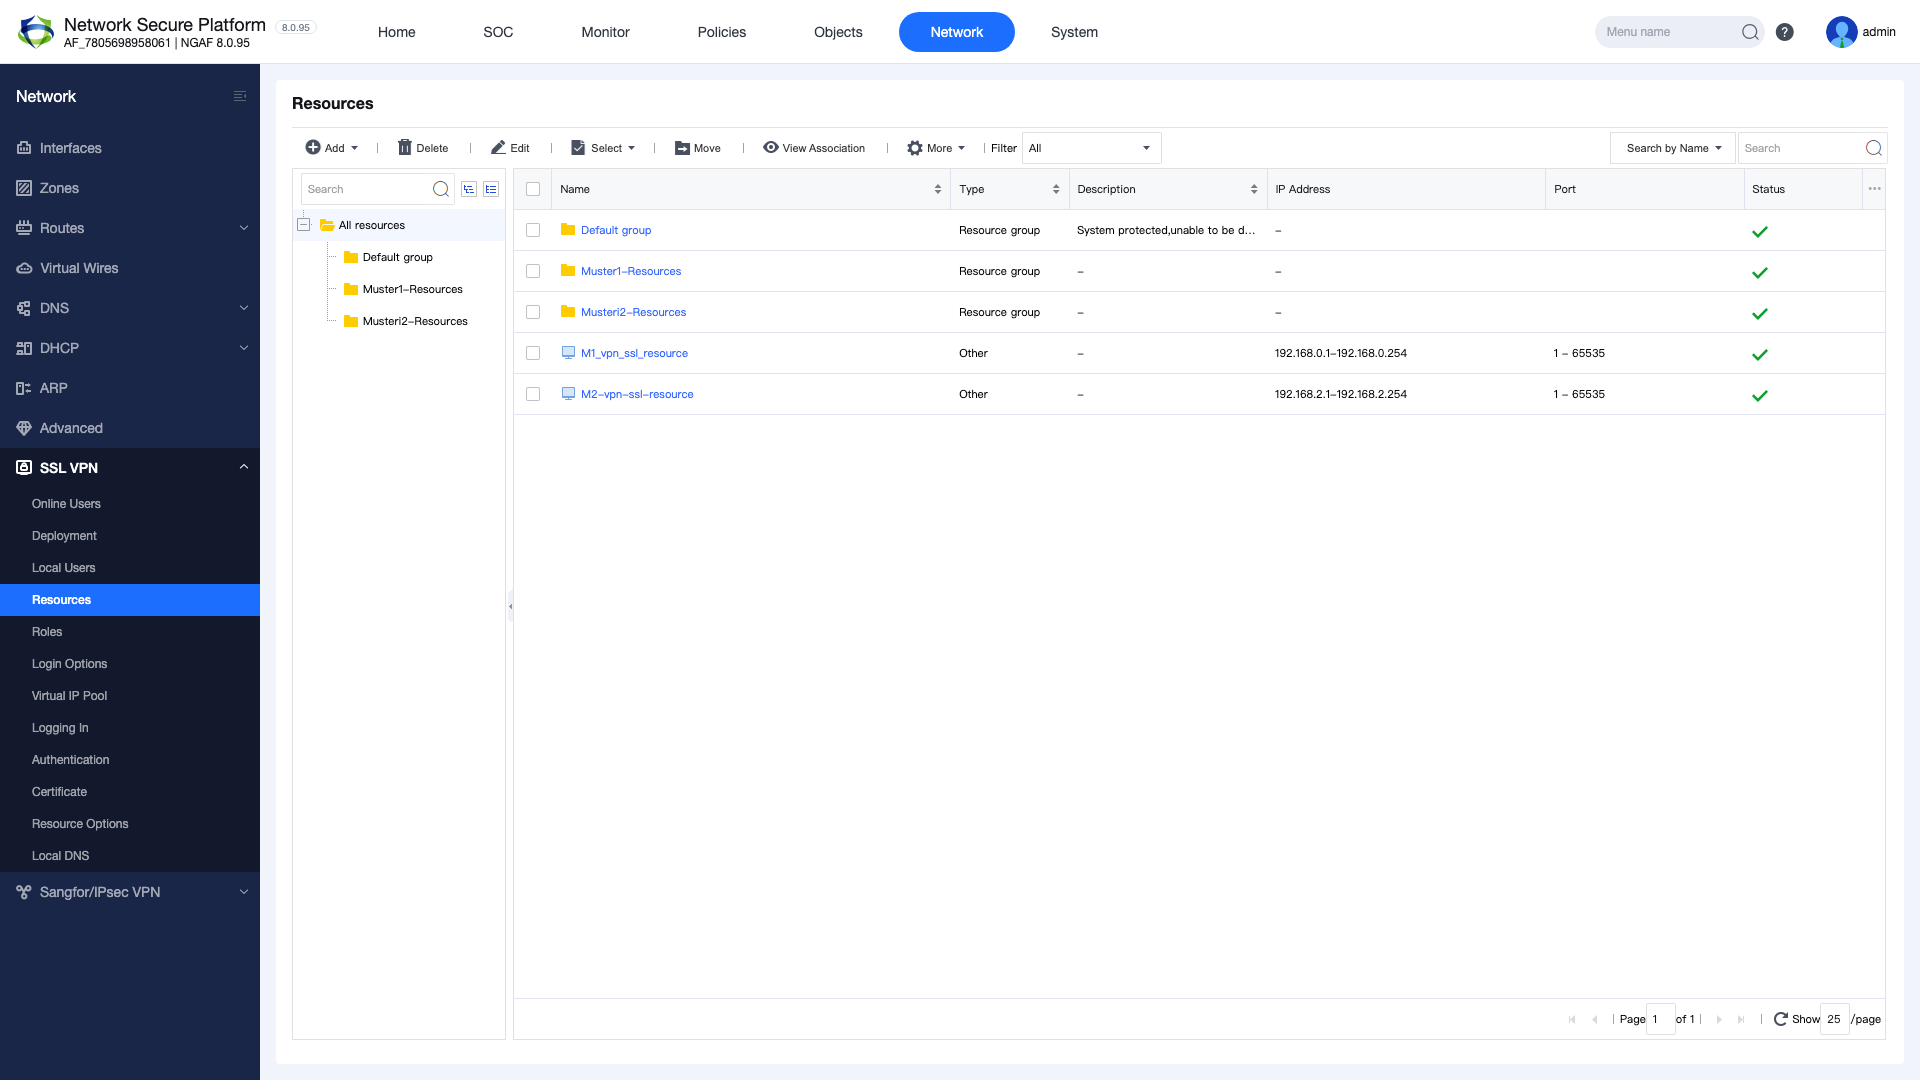
Resources — Define access resources
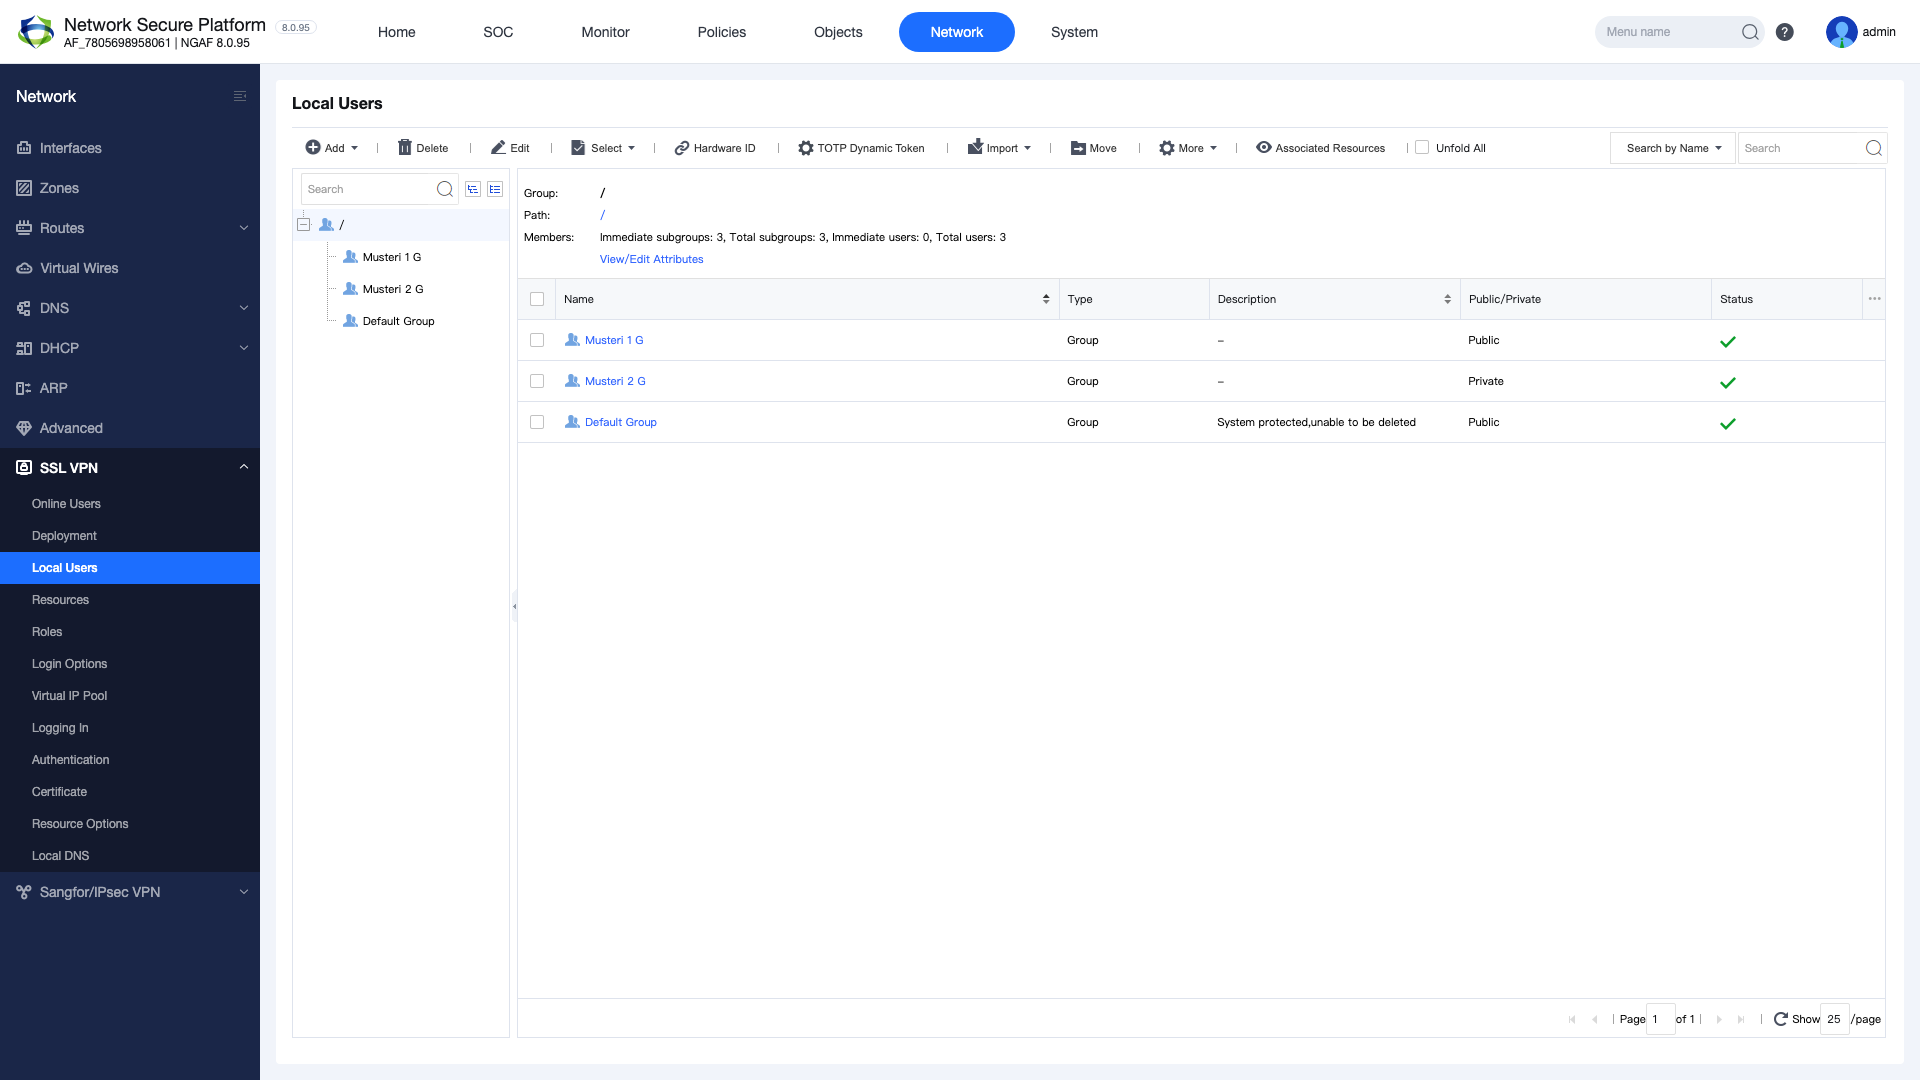
Local Users — Create users and groups
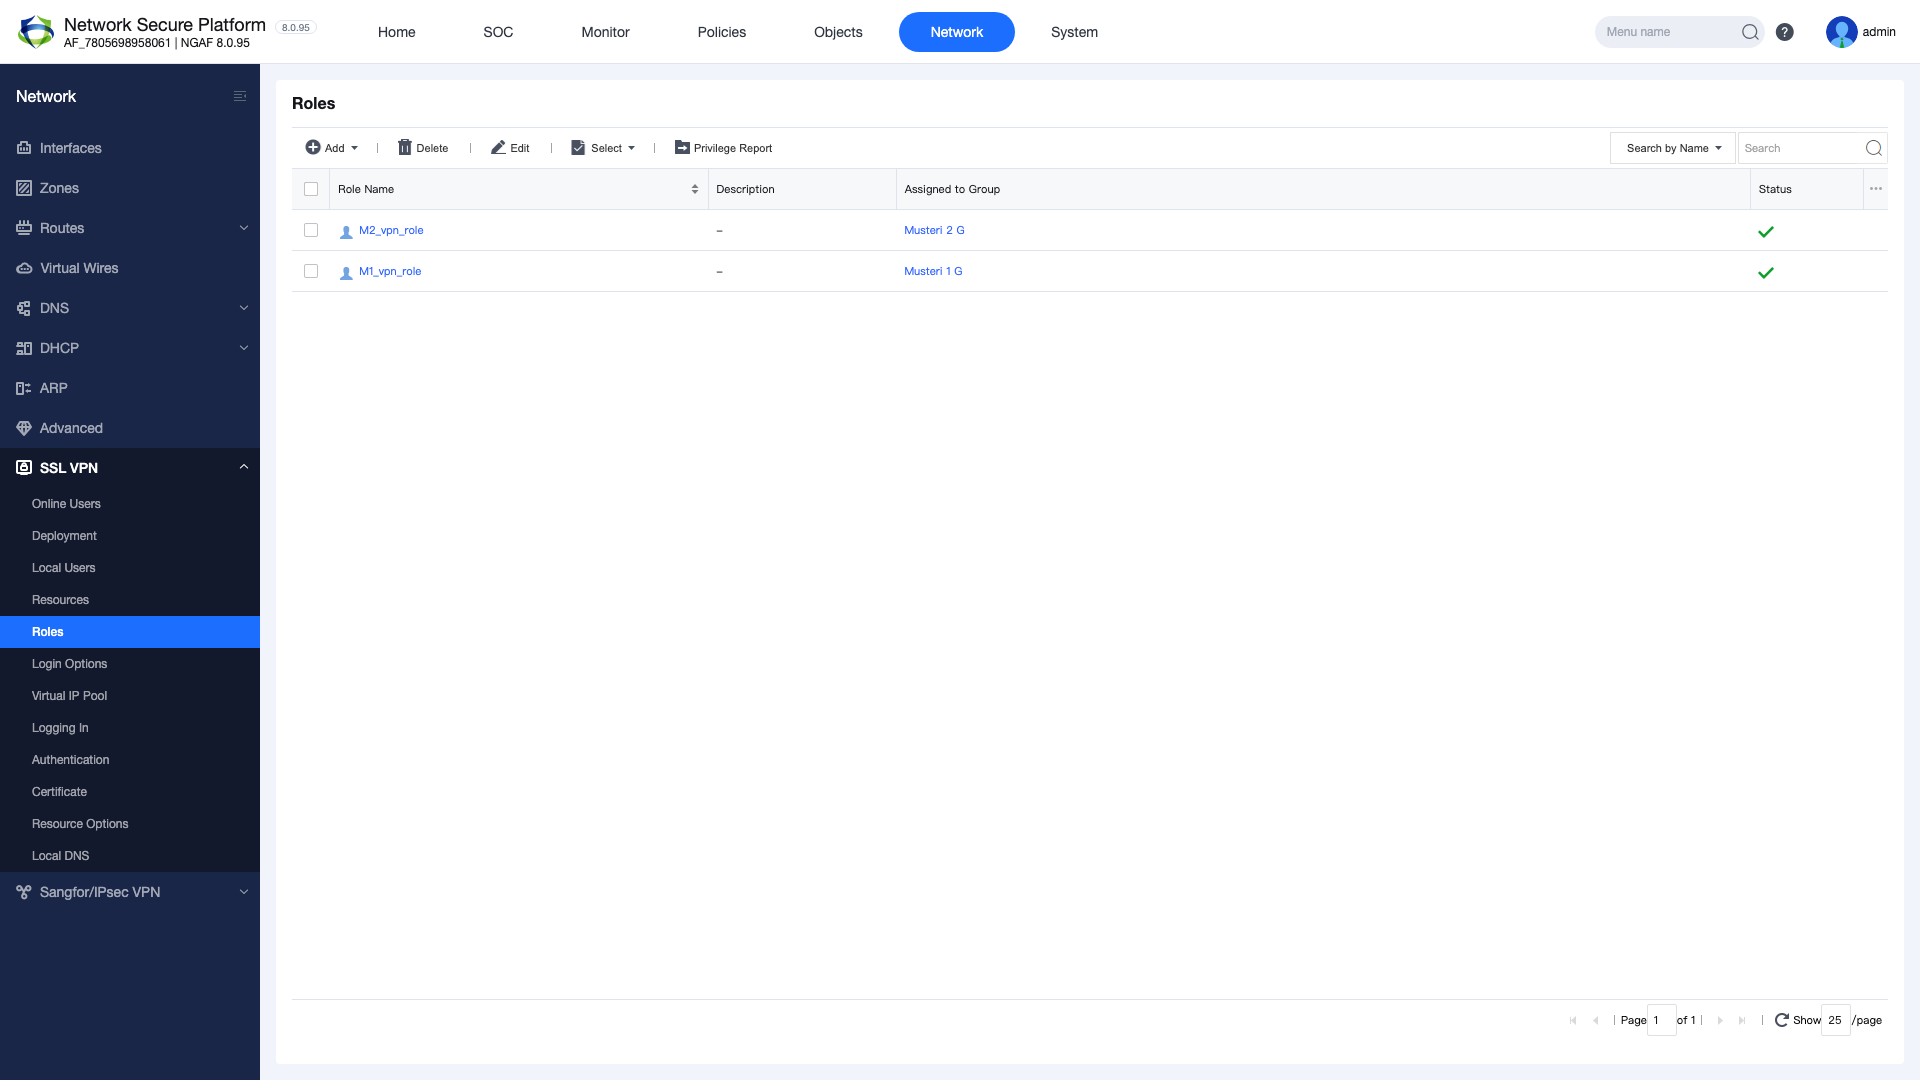
Roles — Map users to resources
Virtual IP Pool — Configure IP pool
NAT — SNAT rule for VPN traffic
Test — Client connection test
This guide walks through each step sequentially to help you complete a full SSL VPN configuration.
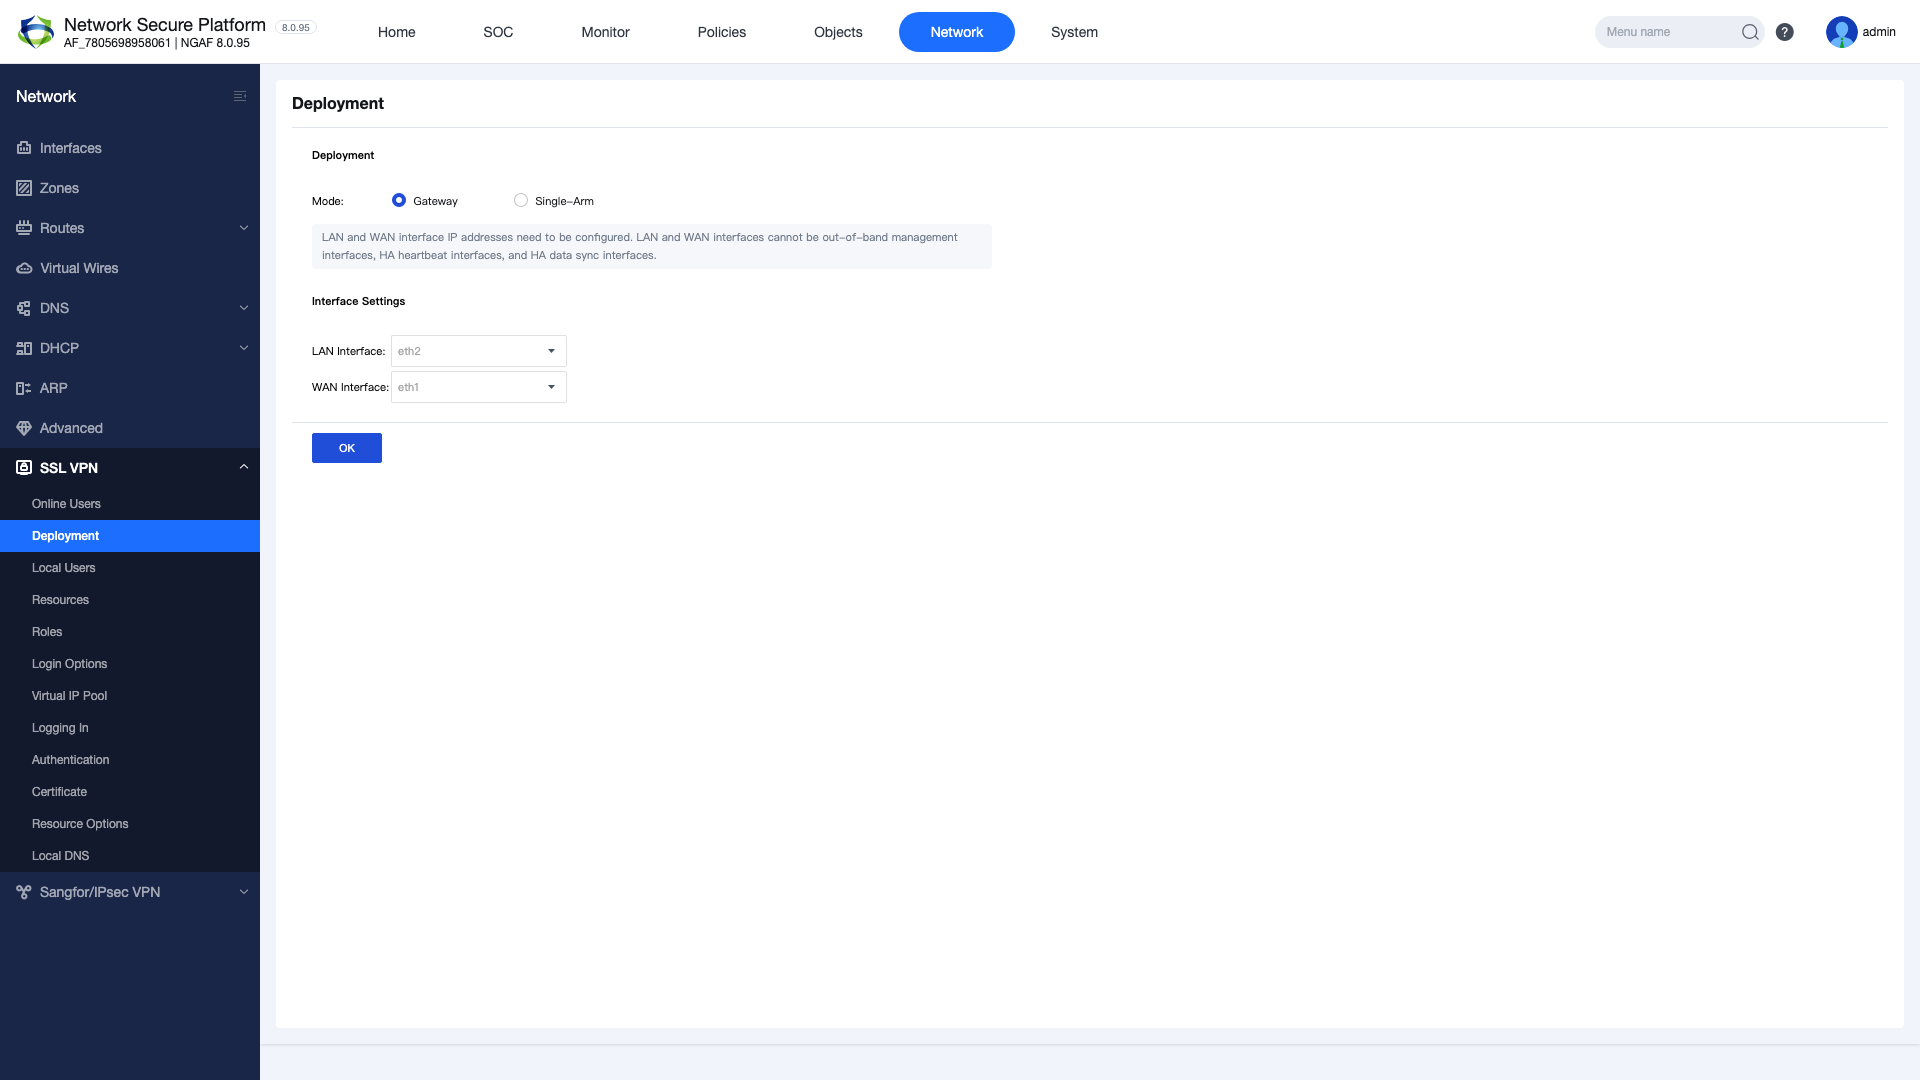
2. Deployment Settings
The SSL VPN deployment mode is determined by the device’s position in the network. There are two main modes:
Gateway Mode: NGAF is positioned as the network gateway. All traffic flows through NGAF. This is the most commonly used mode.
Single-Arm Mode: NGAF is positioned alongside the existing gateway. Only VPN traffic is routed through NGAF.
Select the relevant user group in the User Group field
Select the relevant resource group in the Resource Group field
Click OK to save
Important: Multiple resource groups can be assigned to a single user group. Apply the principle of least privilege to enhance security.
5. Login Options, Virtual IP Pool and Authentication
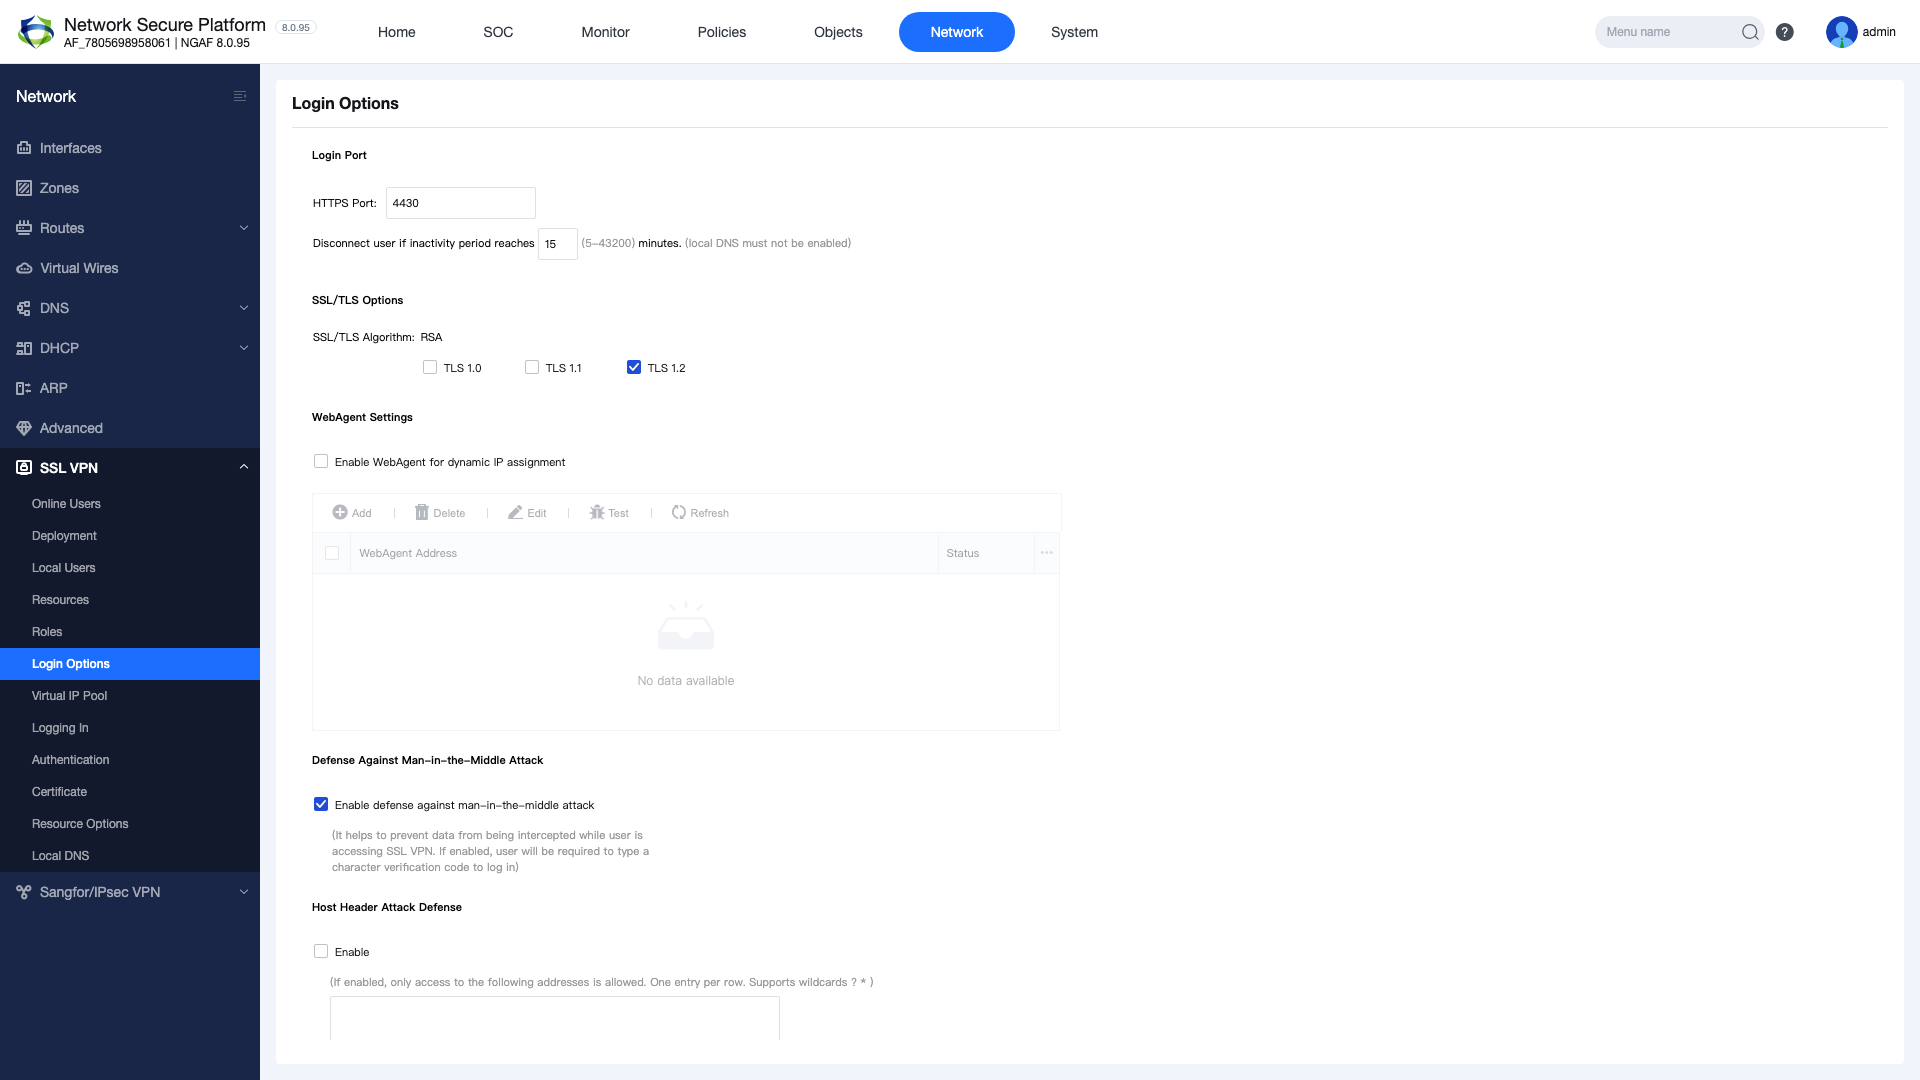
5.1 Login Options
The portal port and TLS settings must be configured for SSL VPN portal access.
Figure 6 — Login Options: portal port and TLS settings
Navigate to SSL VPN > Login Options
Set the Portal Port (default: 4430)
Select the TLS version (TLS 1.2 or higher recommended)
Configure the encryption algorithm
Click OK to save
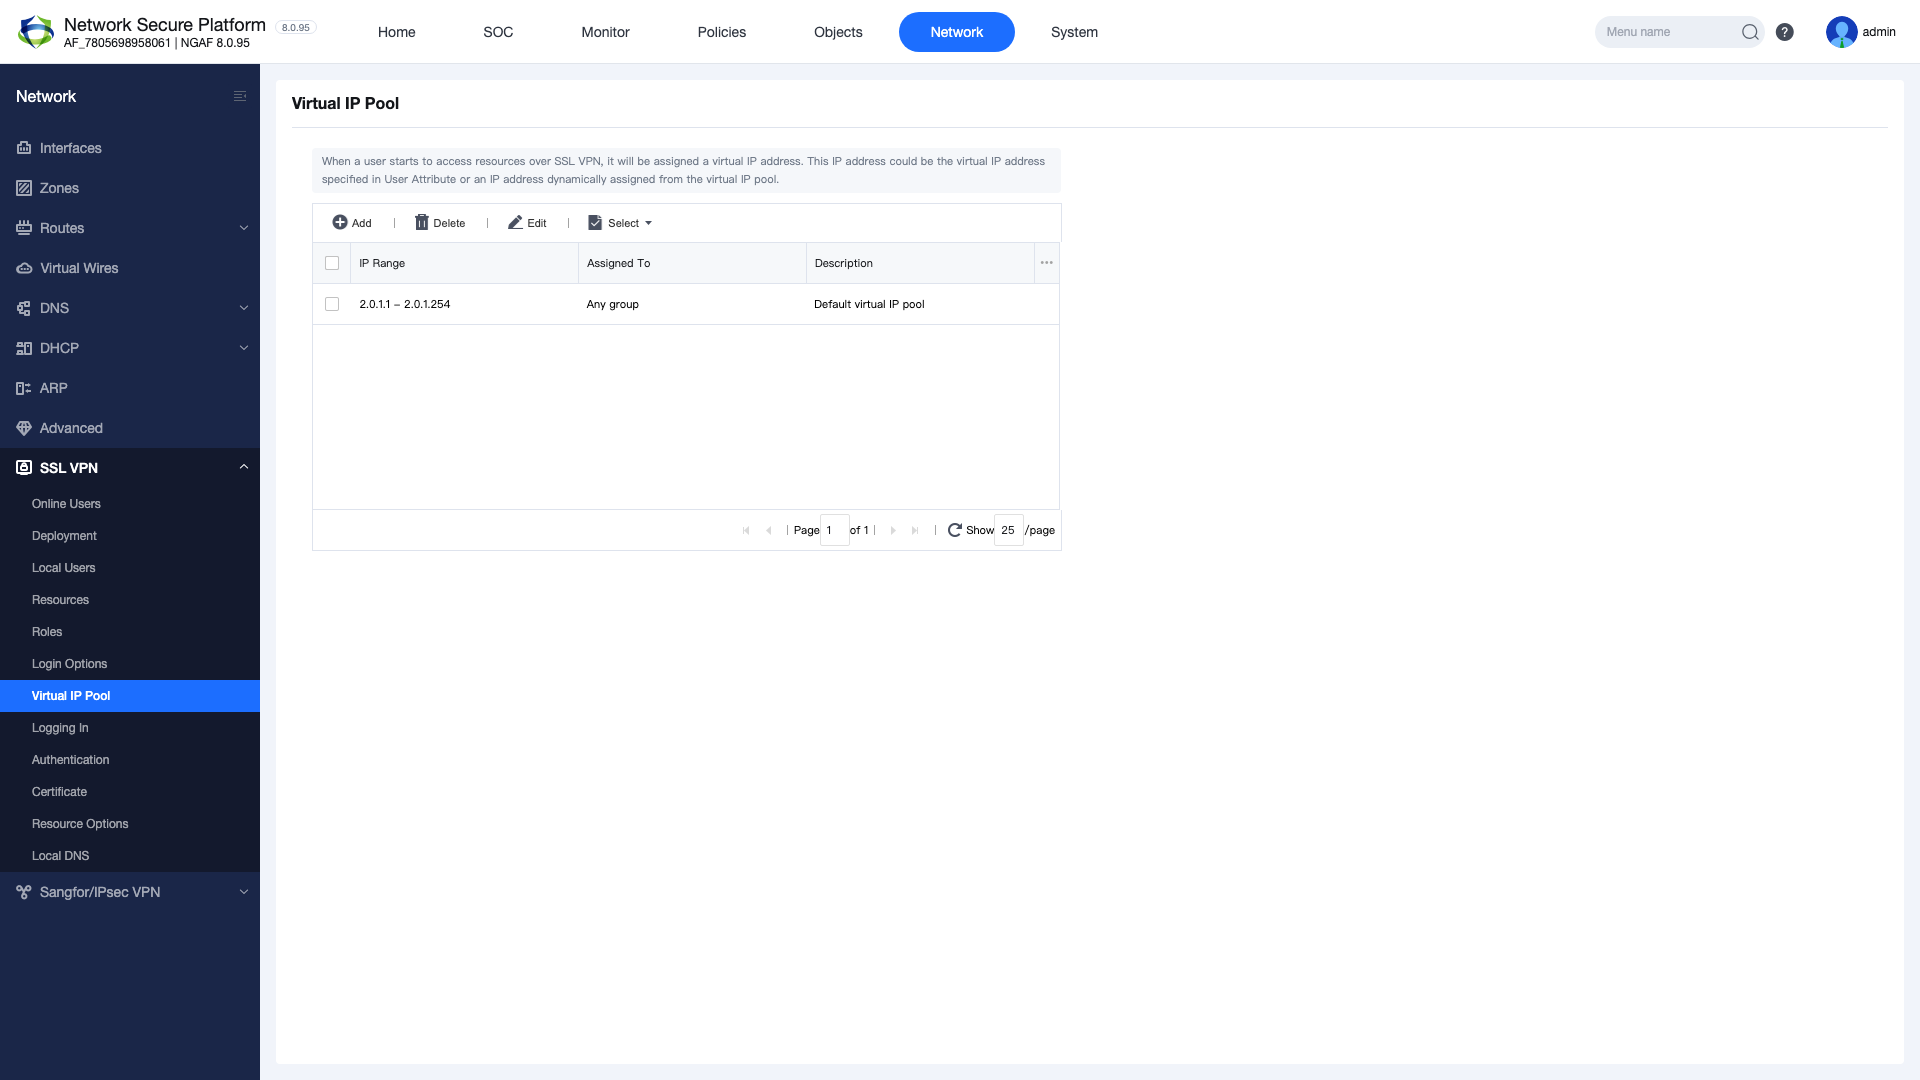
5.2 Virtual IP Pool
Define the IP address pool to be assigned to VPN clients. This IP range must not conflict with your existing LAN network.
Figure 7 — Virtual IP Pool configuration
Navigate to SSL VPN > Virtual IP Pool
Click the “New” button
Enter an IP pool name
Specify the start and end IP addresses
Set the subnet mask
Click OK to save
Note: The Virtual IP Pool range must not overlap with DHCP or static IP ranges in your existing network. Using a separate /24 subnet is recommended (e.g., 10.251.251.0/24).
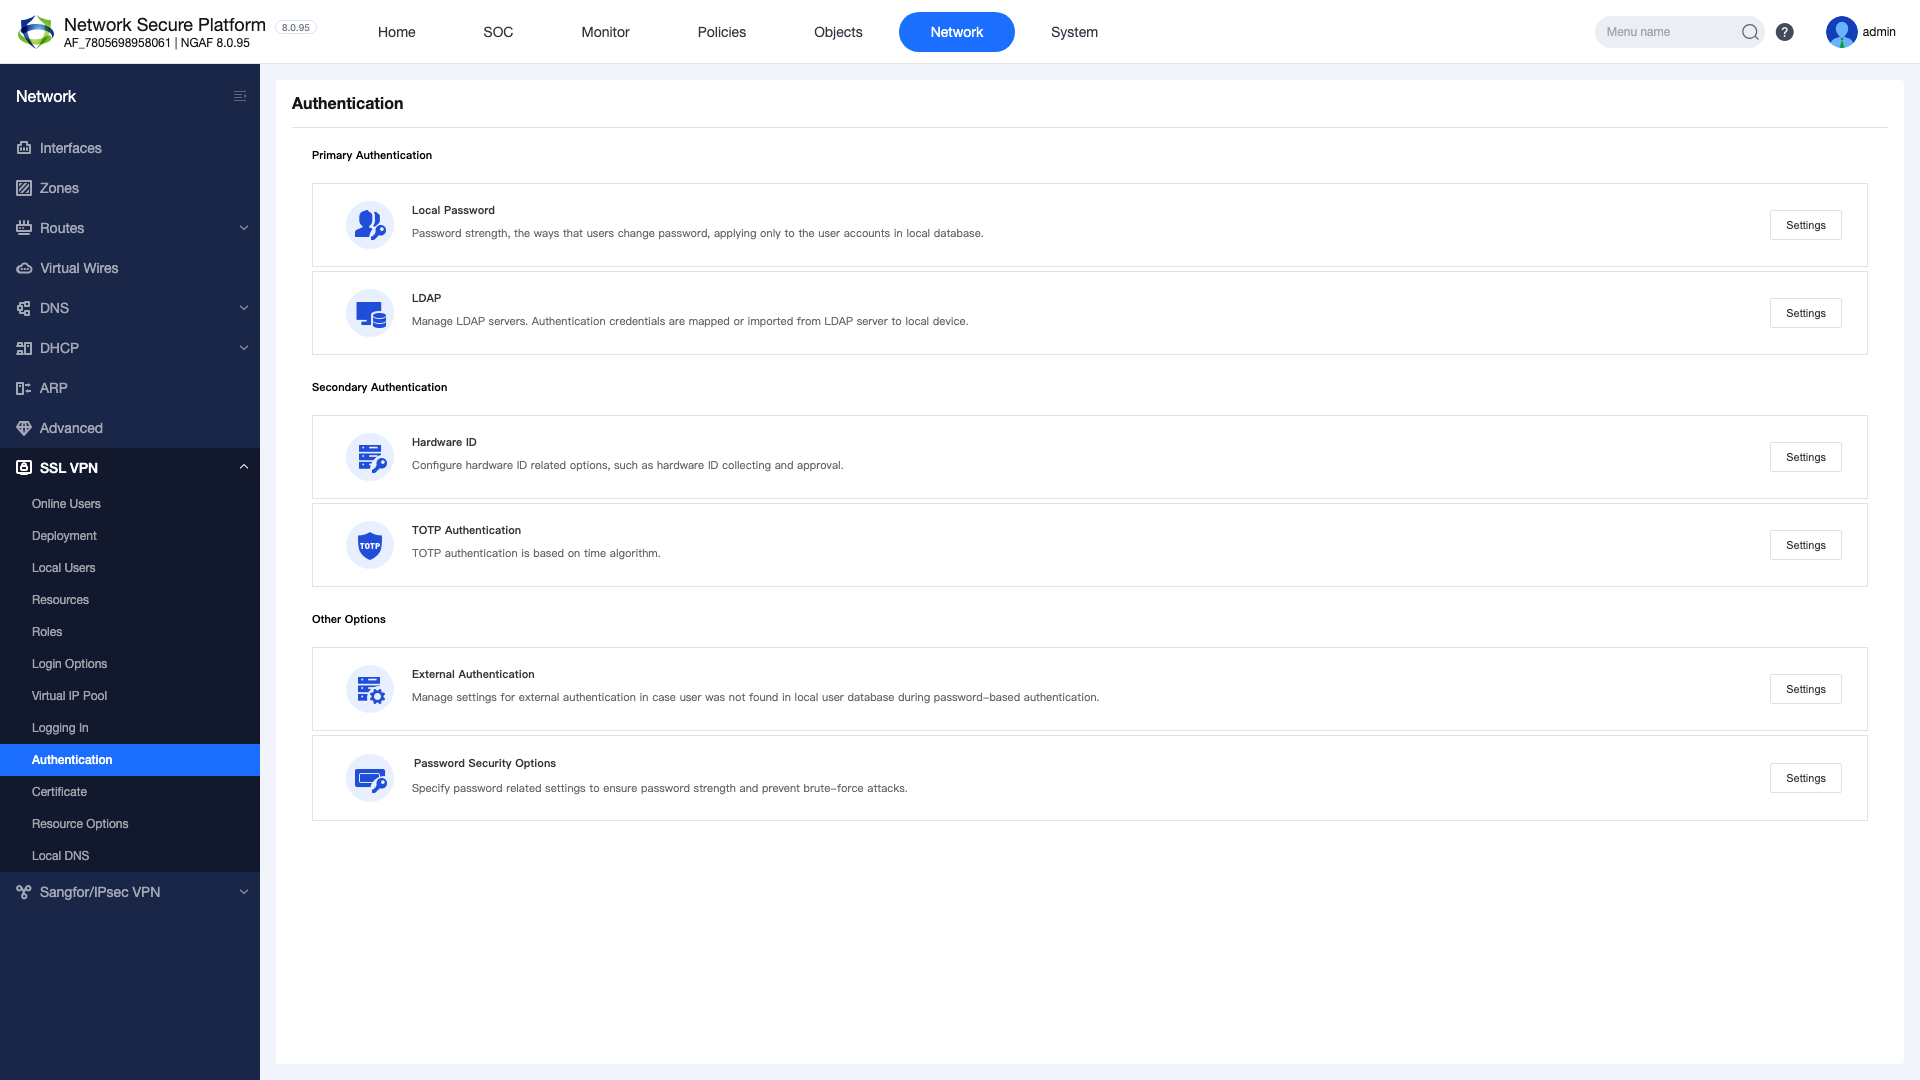
5.3 Authentication
Configure the user authentication method and settings.
Figure 8 — Authentication settings
Local Authentication: Uses the NGAF local user database
LDAP/AD Authentication: Integration with Active Directory or LDAP server
RADIUS Authentication: Authentication via RADIUS server
Certificate Authentication: Digital certificate-based authentication
Tip: Enabling multi-factor authentication (MFA) is recommended to enhance security.
6. Portal Customization and Certificate Management
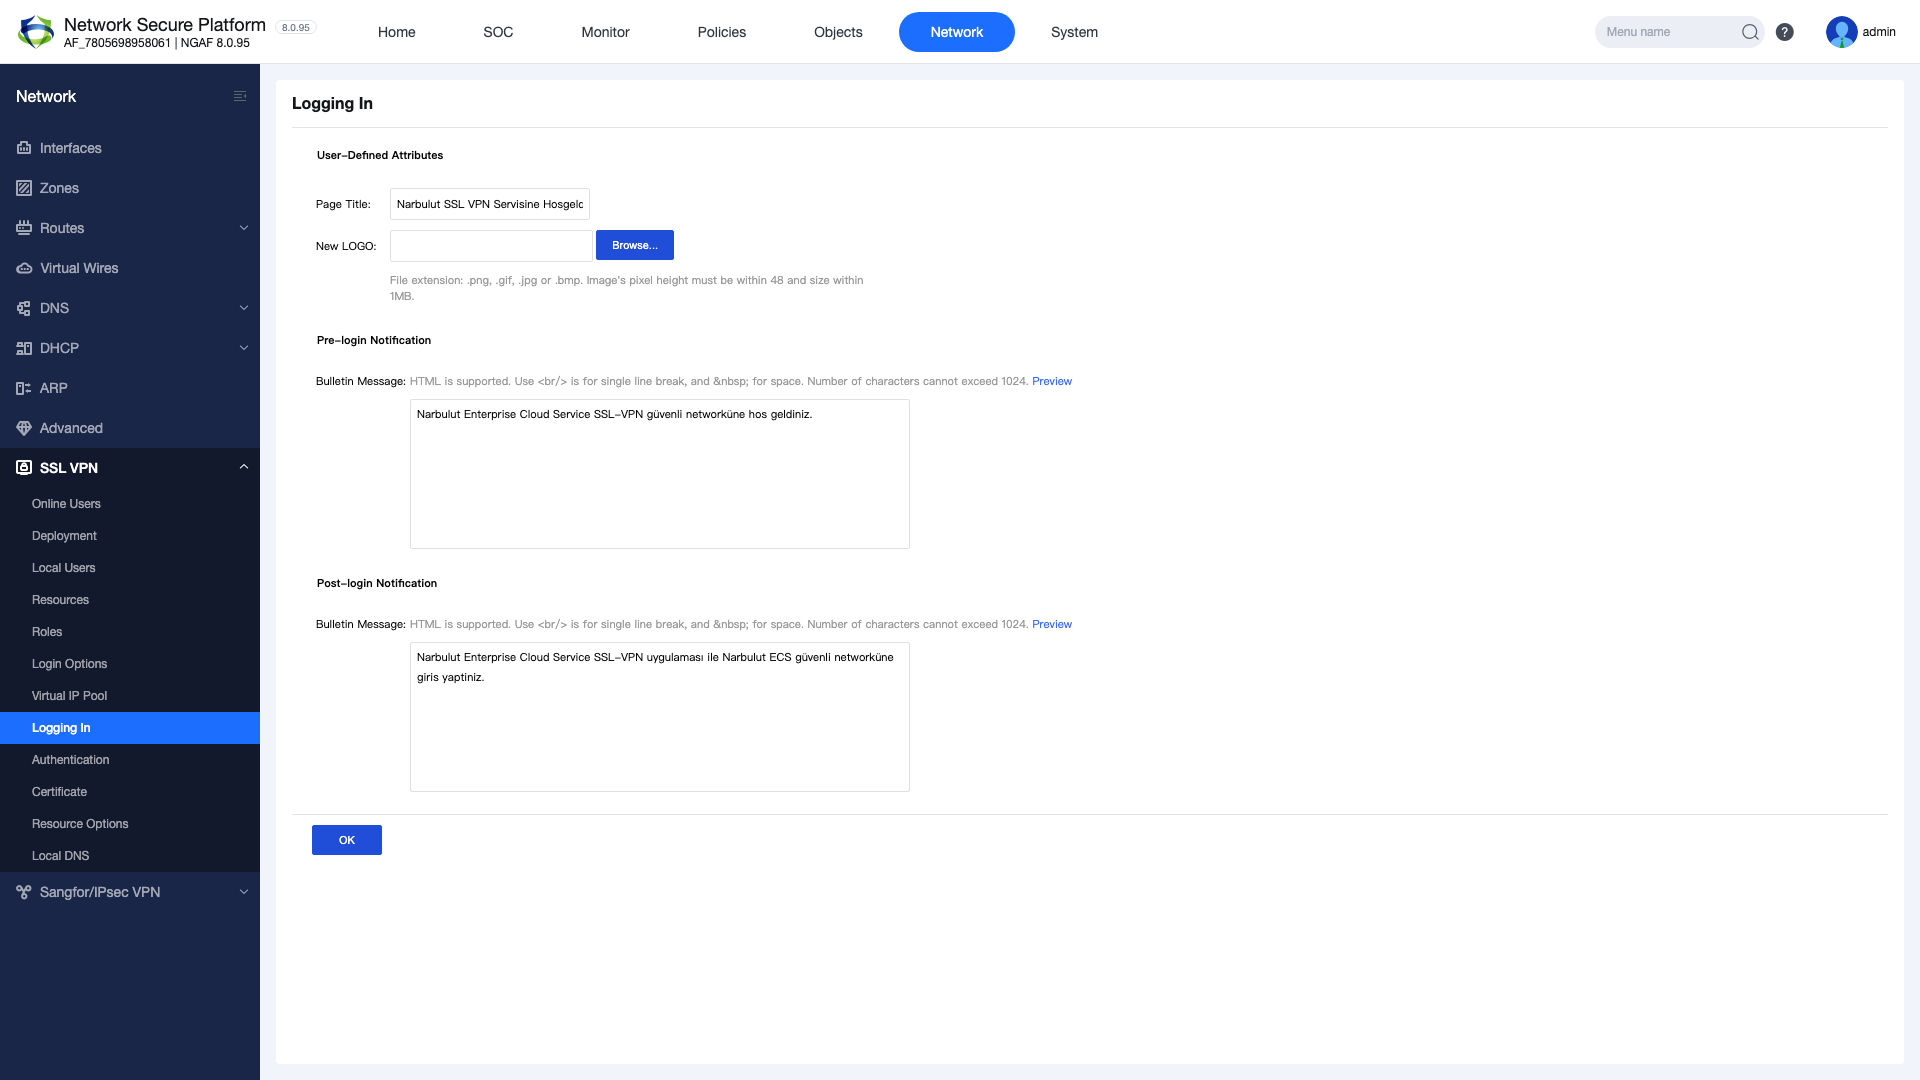
6.1 Portal Customization
Customize the SSL VPN login portal appearance to match your corporate identity:
Logo: Upload your company logo
Title: Change the portal title
Background: Set the login page background image
Announcement: Add informational text to be displayed to users
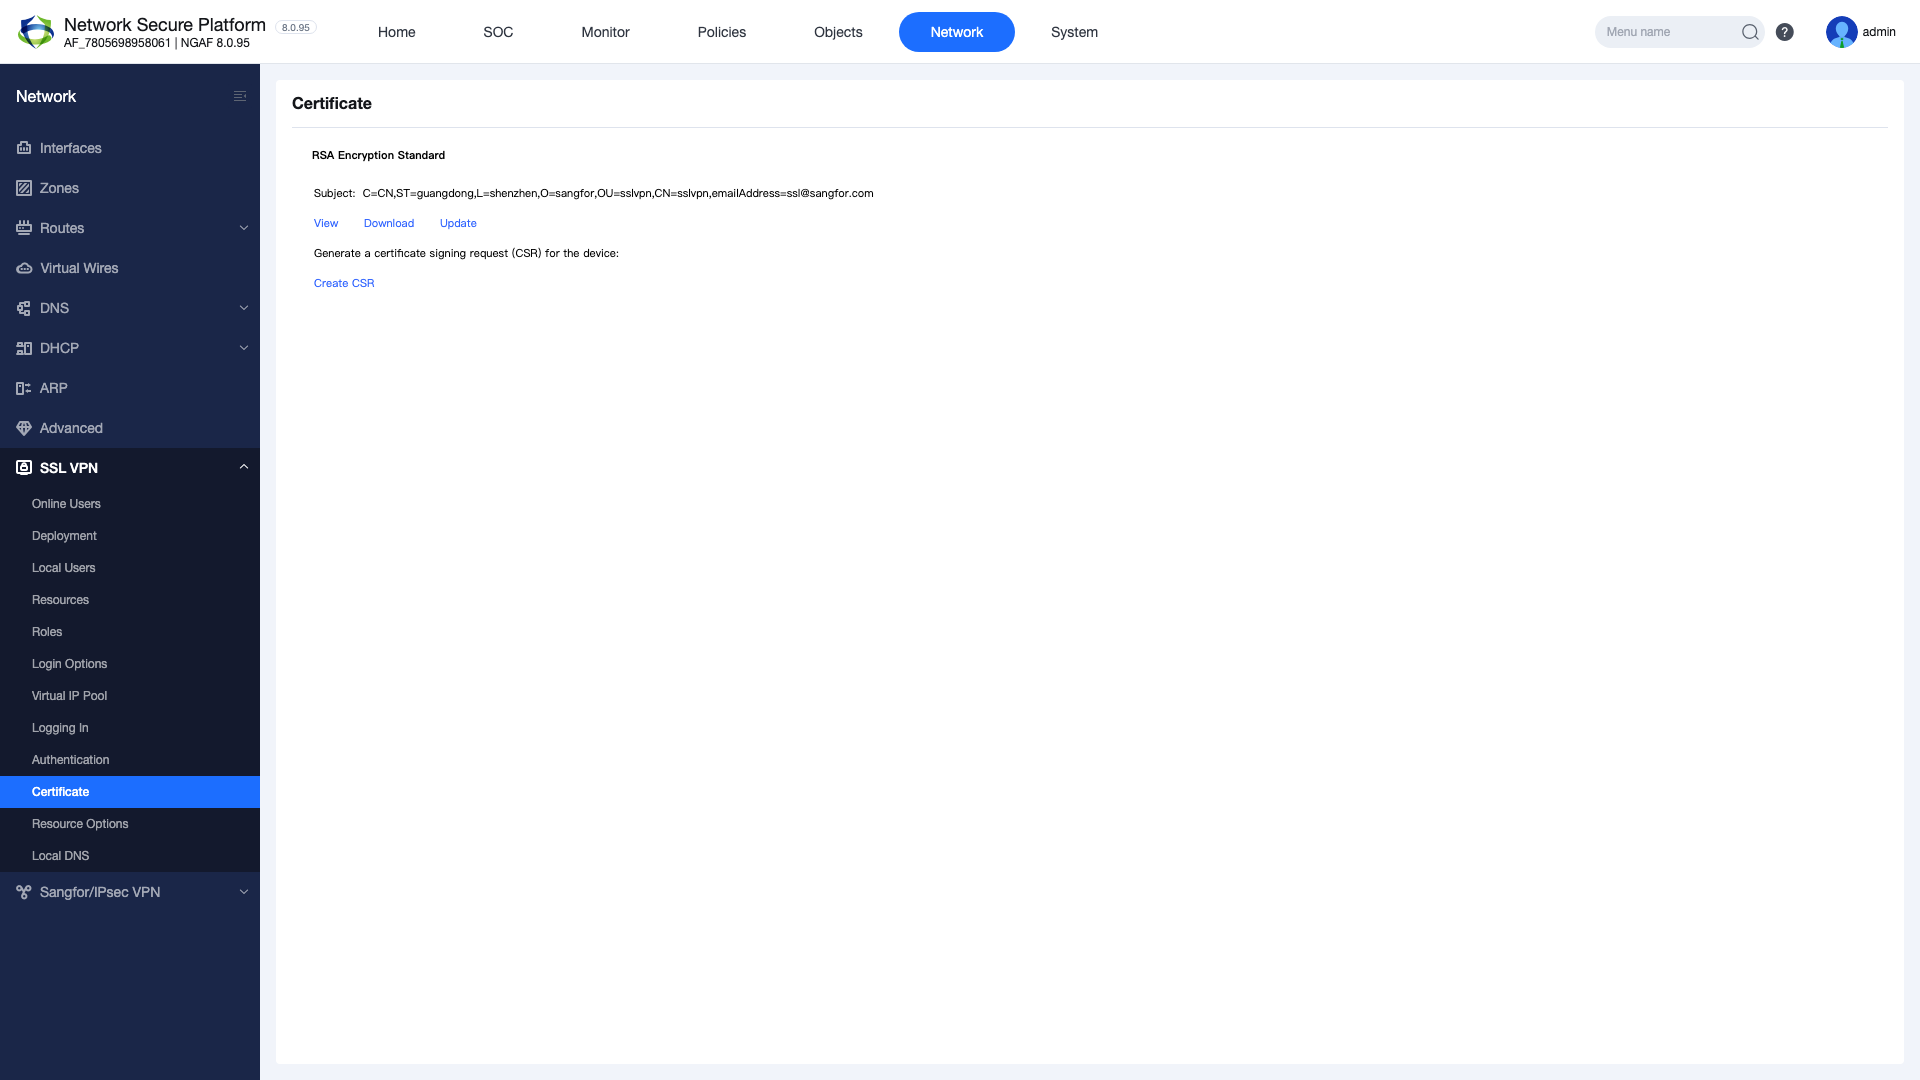
6.2 Certificate Management
Complete the certificate configuration for SSL VPN connection security:
Default Certificate: NGAF automatically generates a self-signed certificate. Suitable for test environments.
Custom Certificate: Upload a certificate obtained from a trusted CA for production environments.
Let’s Encrypt: Supported for free certificate automation.
Important: Using a self-signed certificate in production environments causes browser security warnings. Using a trusted CA certificate is strongly recommended.
7. NAT, Client Connection and User Monitoring
7.1 NAT Configuration
An SNAT rule must be created to allow VPN clients to access internal network resources:
Figure 9 — NAT configuration: SNAT rule for VPN traffic
Navigate to Network > NAT
Click the “New” button
Source Zone: Select the SSL VPN zone
Destination Zone: Select the LAN zone
Source IP: Enter the Virtual IP Pool range
Translation: Select Outgoing Interface Address
Click OK to save
Note: Without the NAT rule, VPN clients cannot access internal network resources. This is a frequently missed critical configuration step.
7.2 Client Connection (EasyConnect)
After configuration is complete, test the client connection:
Figure 10 — EasyConnect client connection and online users
Download and install the EasyConnect application on the client computer
Enter the server address: https://<WAN-IP>:4430
Enter the username and password
Click Connect
Verify the connection status shows “Connected”
Test access to internal network resources (ping, RDP, web, etc.)
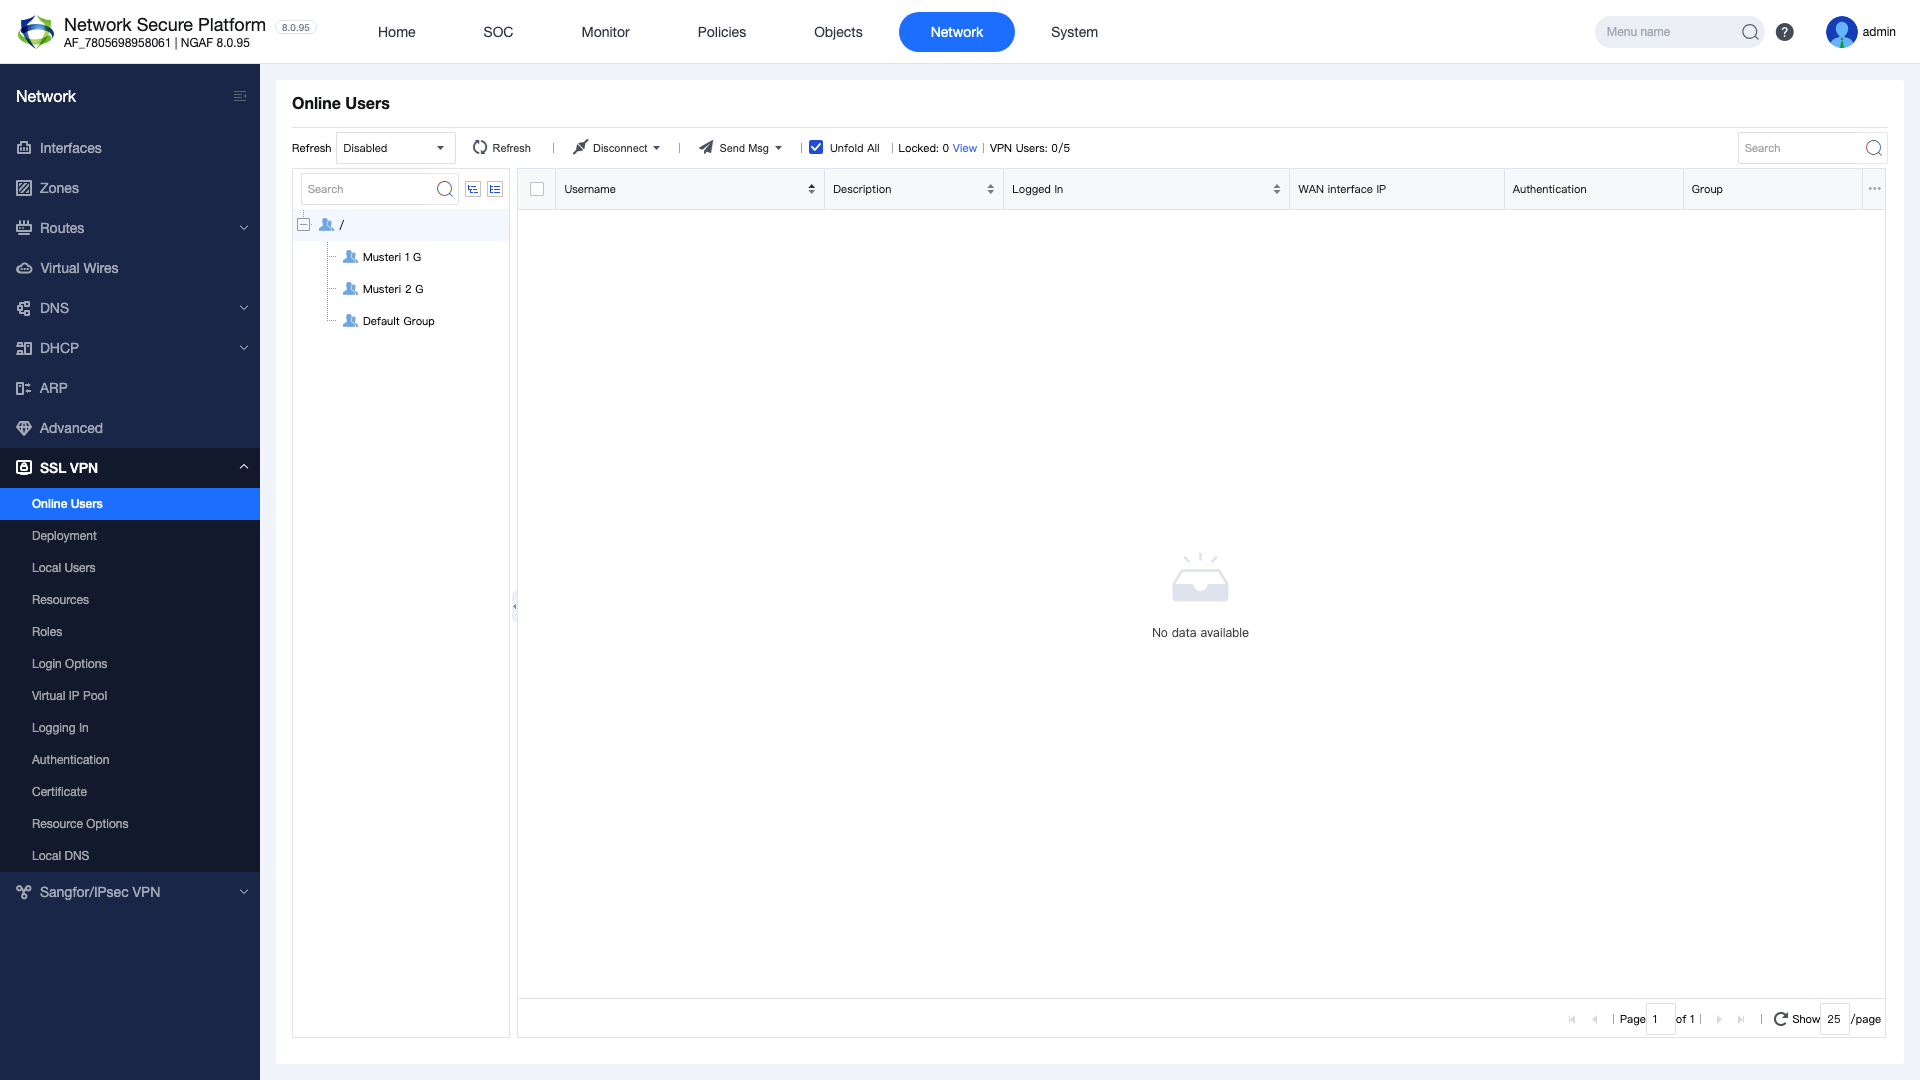
7.3 Online User Monitoring
To monitor and manage active VPN sessions:
Navigate to SSL VPN > Online Users
View connected users, assigned IPs, session duration, and bandwidth usage
Terminate user sessions when needed (Kick)
8. Best Practices and Troubleshooting
Best Practices
Principle of least privilege: Grant users access only to the resources they need
Strong password policy: Minimum 8 characters with uppercase, lowercase, numbers, and special characters required
Enable MFA: Enhance security with multi-factor authentication
Regular auditing: Periodically review online users and access logs
Certificate management: Use a trusted CA certificate and monitor expiration dates
IP pool planning: Allocate a separate subnet that does not conflict with the existing network
Firmware updates: Keep NGAF firmware up to date to apply security patches