
To manage an existing user, hover over the user you want to manage and click on  button.
To manage an existing group, hover over the group you want to manage and click on![]() button.
button.
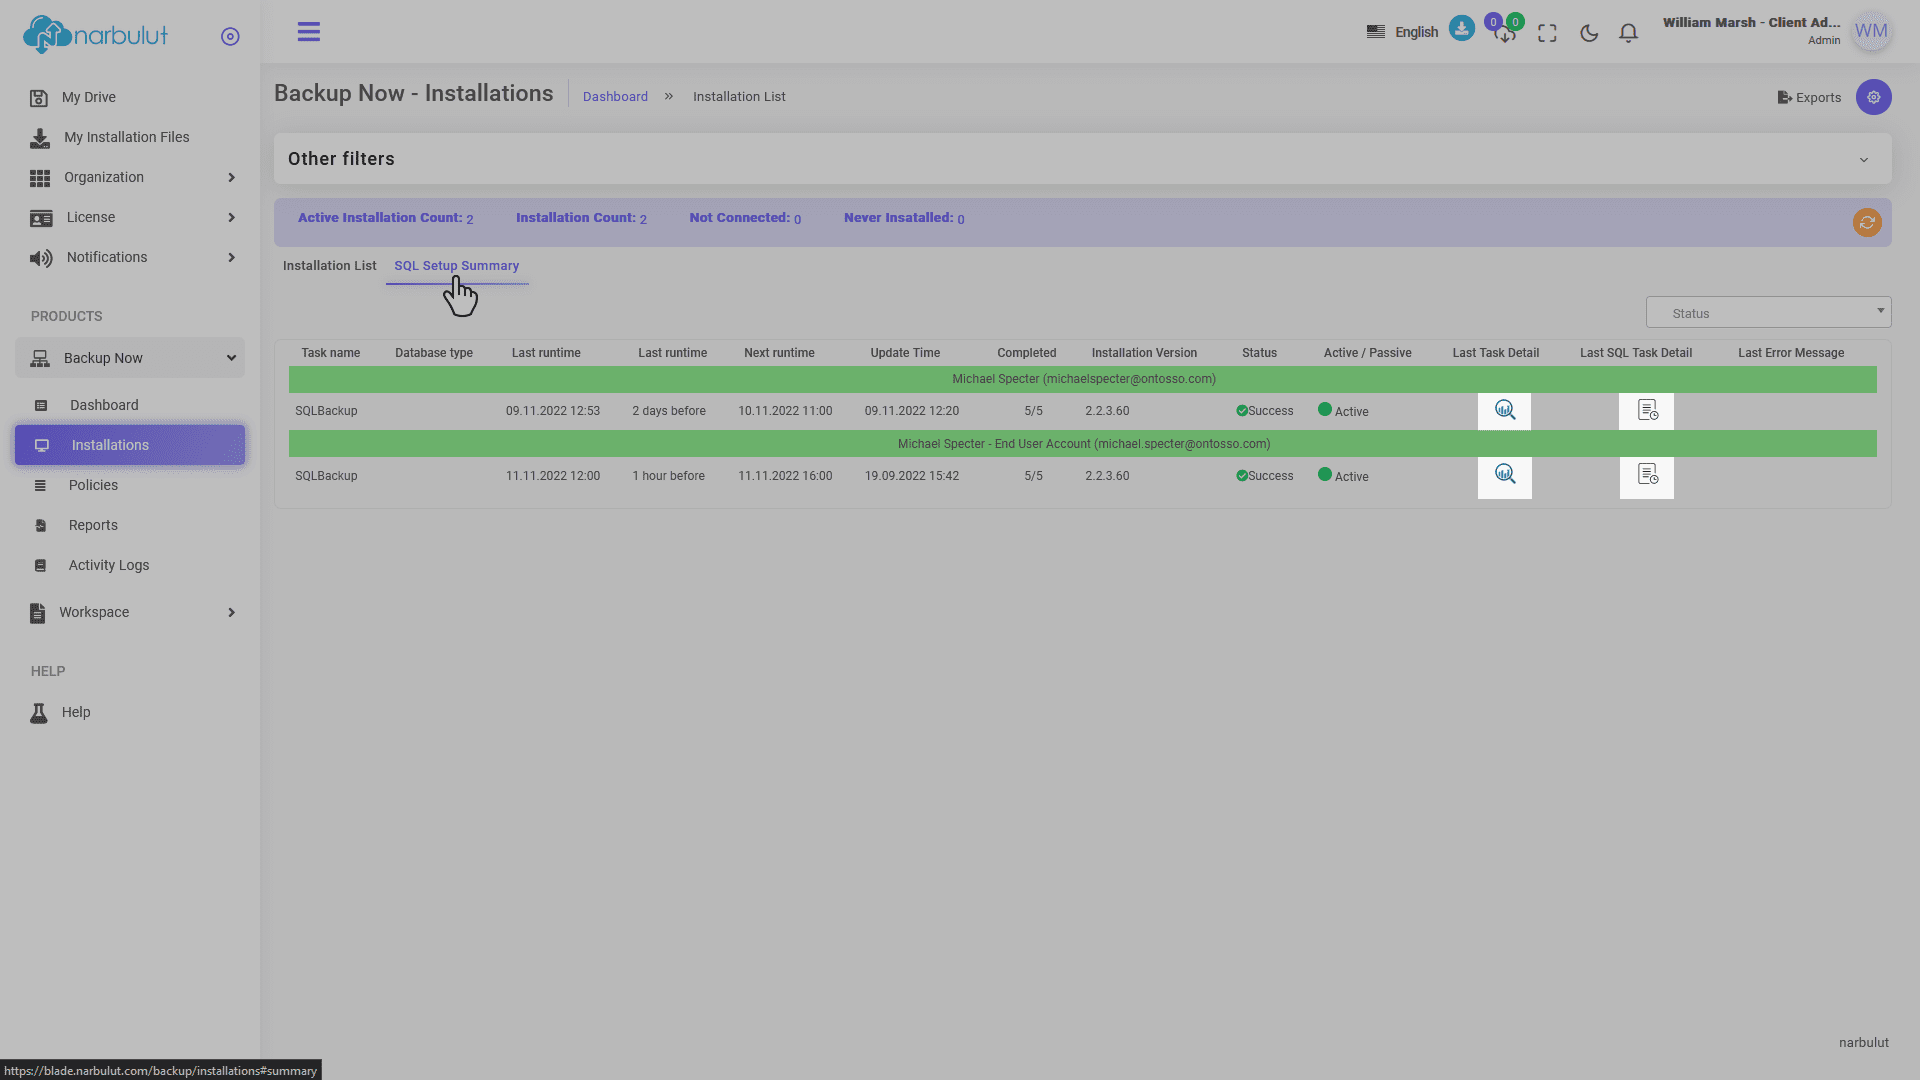
You can use the “Details” ![]() button to see even more details.
button to see even more details.