Narbulut SQL Restore Now User Guide
Introduction
Narbulut SQL Restore Now is a tool that enables you to restore multiple Microsoft SQL backup files to your Microsoft SQL server by a single-click.
Although the application is very easy-to-use, there are some points to be considered. This guide covers topics like how to restore your Microsoft SQL backup files (.bak, .bkf, etc.) using Narbulut SQL Restore Now and solutions to some errors that you may encounter while using the application.
Supported Operating Systems
Operating systems supporting Narbulut SQL Restore Now are as follows:
Operating System | Version | Architecture |
7 SP1(*), 8.1 | x64, x86 | |
Version 1607+ | x64, x86, Arm64 | |
Version 22000+ | x64, x86, Arm64 | |
2012+ | x64, x86 | |
2012+ | x64, x86 | |
Version 1809+ | x64 |
* Windows 7 SP1 can support only if Extended Security Updates installed.
1. Database Restoration
A. Connecting to the server
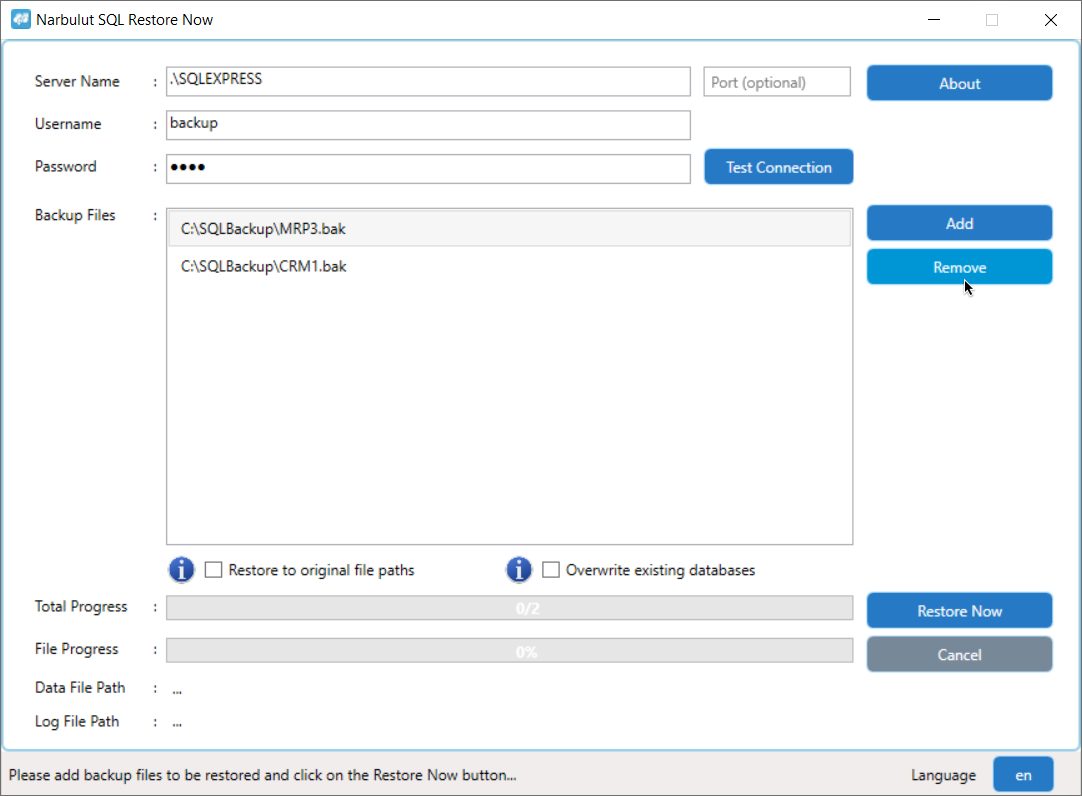
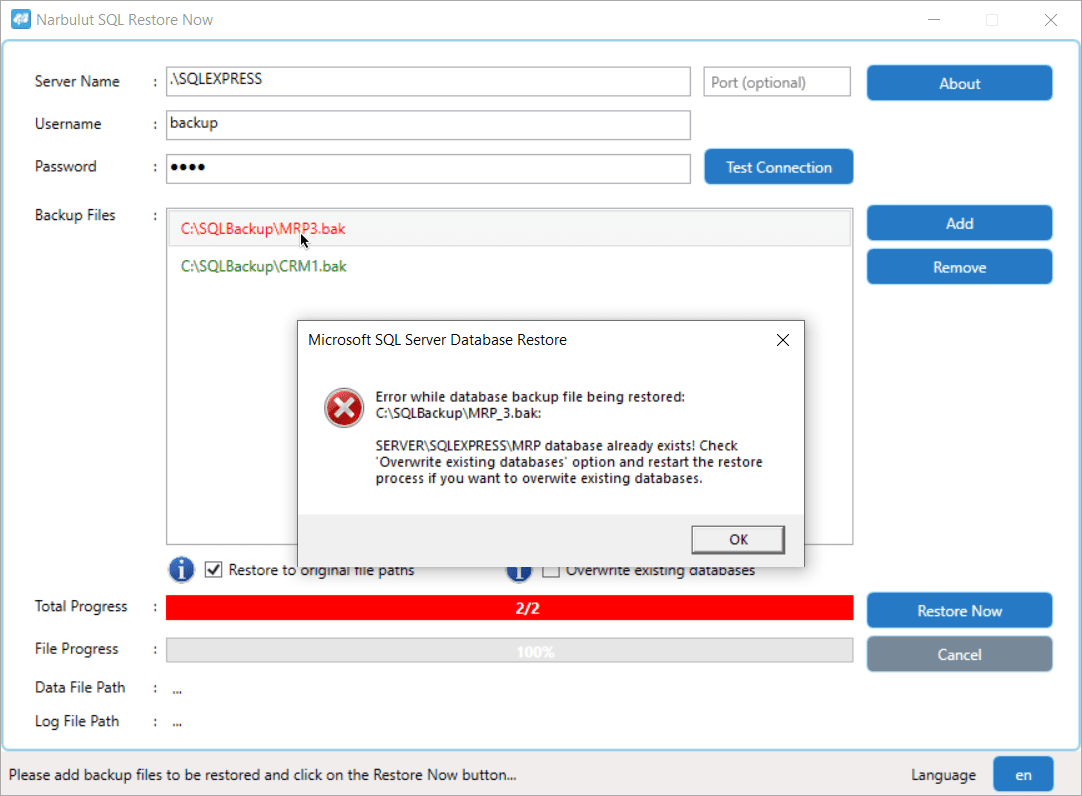
In order for Narbulut SQL Restore Now to restore your databases to your Microsoft SQL server, you must provide the following connection information:
- Server name: The name of the Microsoft SQL server to be restored.
- Port: The communication port of the Microsoft SQL server to be connected. (When left blank, the default port 1433 is used.)
- Username: Username of a Microsoft SQL Server user.
- Password: Microsoft SQL server user password.
Note: For security reasons, Narbulut recommends that the user to perform restoration has the minimum authorization that will enable them to restore.
The process for creating the minimum authorized user for database restoration is as follows:
- Log in to “Microsoft SQL Server Management Studio”.
- Create a new user.
- Check the “dbcreator” checkbox from the “Server Roles” page.
- At the bottom of the “Explicit” section of the “Securables” page, mark the “View Server State” authorization as “Grant”.
The process for authorizing a user with the minimum authorization for database restoration is as follows:
- Log in to “Microsoft SQL Server Management Studio”.
- Go to Security > Logins and select the user you want to authorize.
- Right-click on the user and click on “Properties”.
- From the Server Roles page, select “dbcreator”.
- At the bottom of the “Explicit” section of the “Securables” page, mark the “View Server State” authorization as “Grant”.
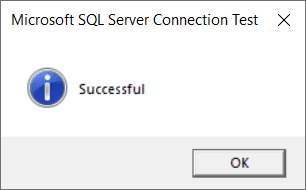
After entering the connection information, test the connection using “Test Connection” button.

B. Adding the database backups
You can bulk add your Microsoft SQL database backup files that you want to restore and restore all your databases at once.
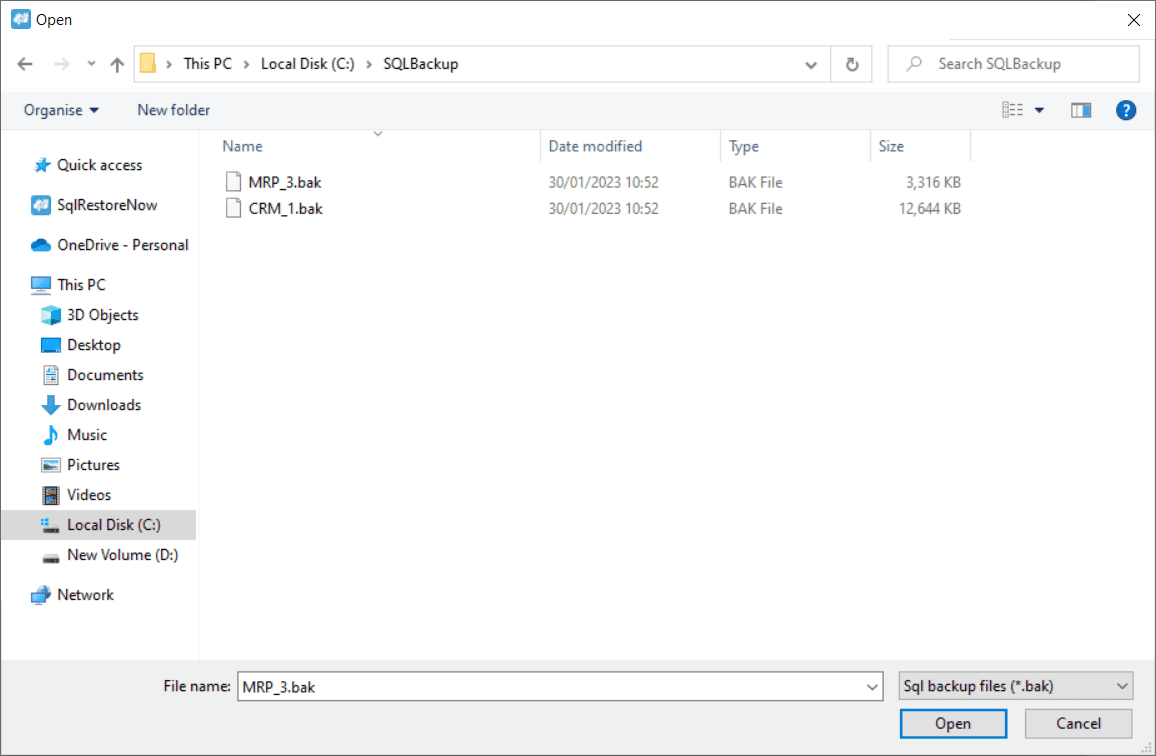
- Click on the “Add” button.
- Open the folder path to your Microsoft SQL database backup files.
- Select your Microsoft SQL database backup files that you want to restore. (.bak, .bkf)
- Click on the “Open” button.
Note: To be able to select Microsoft SQL backup files that do not have a .bak extension, switch the file type to “All files (*.*)”.
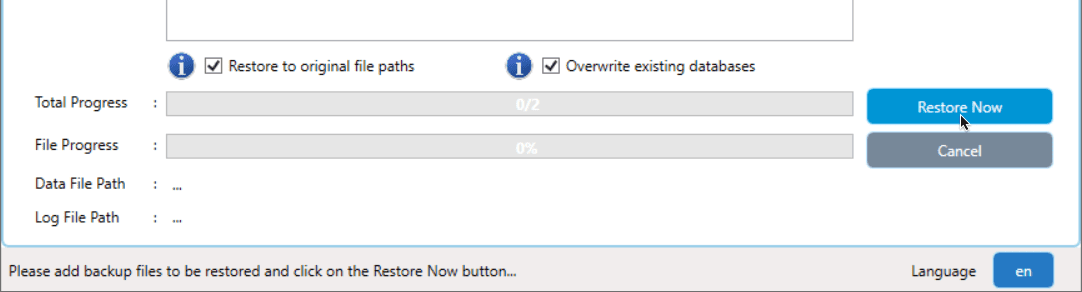
D. Restoring to original file path
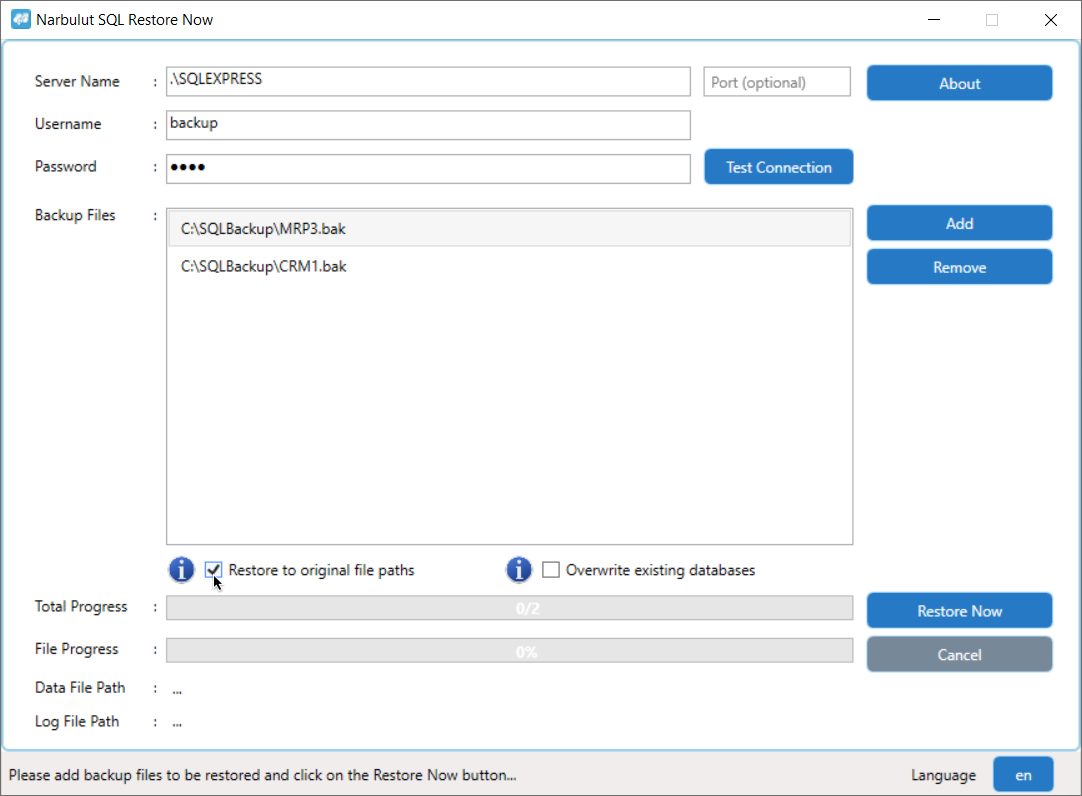
You can restore the physical files (.mdf, .ldf) of the Microsoft SQL databases that you backed up to the original data folder or to the default data folder of the Microsoft SQL server.
- Check the “Restore to original file paths” checkbox.
- Click on the “Restore Now” button.
Note: If the “Restore to original file paths” box is not checked, the restoration is performed to the default data folder of the Microsoft SQL server.
E. Overwriting existing databases
You can overwrite your Microsoft SQL database backup files to your existing databases with the same name.
- Check the “Overwrite existing databases” checkbox.
- Click on the “Restore Now” button.
Note: If the “Overwrite existing databases” box is not checked and a database with the same name as one of the added database files exists on the Microsoft SQL server, no restoration will be performed.


Operating system error 5
This error occurs when Microsoft SQL server is not authorized to access the files that you added in the “Adding the database backups” step.
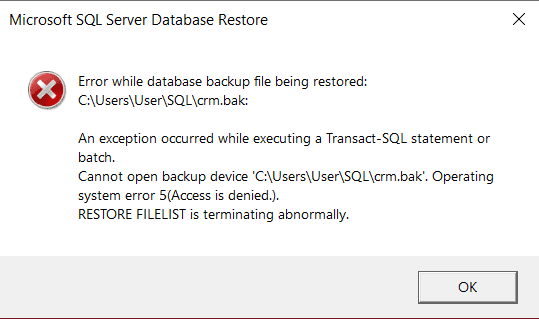
Solution:
Make sure that Microsoft SQL server has access to the folders in which the files are located.
The process for permitting the MSSQL server to access a folder is as follows:
- Open the “Services” app.
- Find the “SQL Server” service.
- Copy the session name in the “Log On As” column of the service.
- Right click on the folder you want to authorize and click on “Properties”.
- Go to the “Security” menu and click on the “Edit” button.
- Click on “Add” button. In the “Enter the object names to select” section, paste the MSSQL server session name you have copied. Click on the “OK” button.
- Allow “Full Control” in the “Permissions” section. Click on the “Apply” button.


Do you have any inquiries?
For all your questions, you can reach us on the phone and WhatsApp, or fill out the contact form if you wish. Our expert team will assist you as soon as possible.

